Medical Integration
What the buying team should decide
Translate clinical function, equipment, access, patient flow, utilities and cleaning requirements into a shelter interface schedule.
Use the checklist to improve your specification and compare suppliers using the same product requirements.
- Start with the clinical function and separate patient, staff, equipment and supply flows.
- Confirm bed or equipment clearances, accessible entries and floor transitions.
- Schedule HVAC, power, lighting, water, data and service openings with the system integrator.
- Separate shelter inspection from medical-device, clinical and regulatory approvals.
Turn the integrator's room plan into a shelter schedule
Begin with the layout and equipment schedule approved by the medical integrator. Give each proposed shelter area a clear role and reference on the drawing. Record the equipment envelope, entrances, floor transitions, partitions and access routes that the shelter supplier must accommodate. This is an interface brief for the shelter envelope, not a clinical design or a claim that ASEN supplies a complete field hospital.
Keep the drawing revision and the requested shelter scope together. If the integrator changes a room use, equipment position or movement route, review the corresponding opening, floor and connection details before the shelter specification is approved. The medical support shelter application shows the distinct intake, treatment, support and connected-module routes that can structure this discussion.
Assign an owner to every service interface
Mark the proposed locations of power and data entries, HVAC ducts, water or drainage connections, lighting supports and any other service openings on one coordinated plan. For each item, identify who designs the connected system, who supplies the shelter-side opening or reinforcement, and who checks the completed interface. An opening on a tent drawing does not by itself establish that the connected medical, electrical or climate system is included in the shelter supply.
Agree on how adjoining modules meet: connection direction, covered transfer route, floor transition and setup order should appear on the same plan used for packing and installation. The module connection checklist provides a separate review of these handover points.
Review the sample and delivery set against the approved plan
Before sampling, compare the proposed shelter drawing with the integrator's latest layout and equipment list. Ask for a marked interface schedule showing each opening, connector, liner or floor option and its agreed supplier responsibility. For the sample review, record any dimensional or access issue as a drawing revision rather than an informal site change.
For the order, ask how modules, connectors, accessories and labels will be identified in the packing list so the installation team can match delivered items to the approved layout. Keep shelter inspection and packing records separate from medical-device validation and clinical or authority approvals, which remain with the qualified parties. The medical integrator procurement route sets out the buyer-side handover; send the room plan, interface schedule, quantity, destination and required documents through the project RFQ for a shelter-scope review.
Interior and exterior references
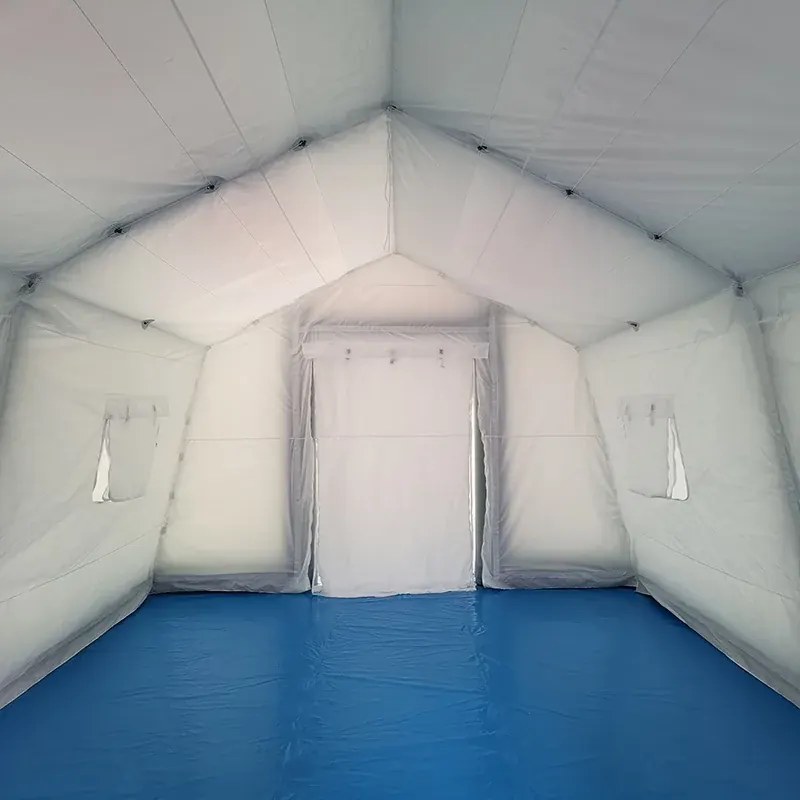
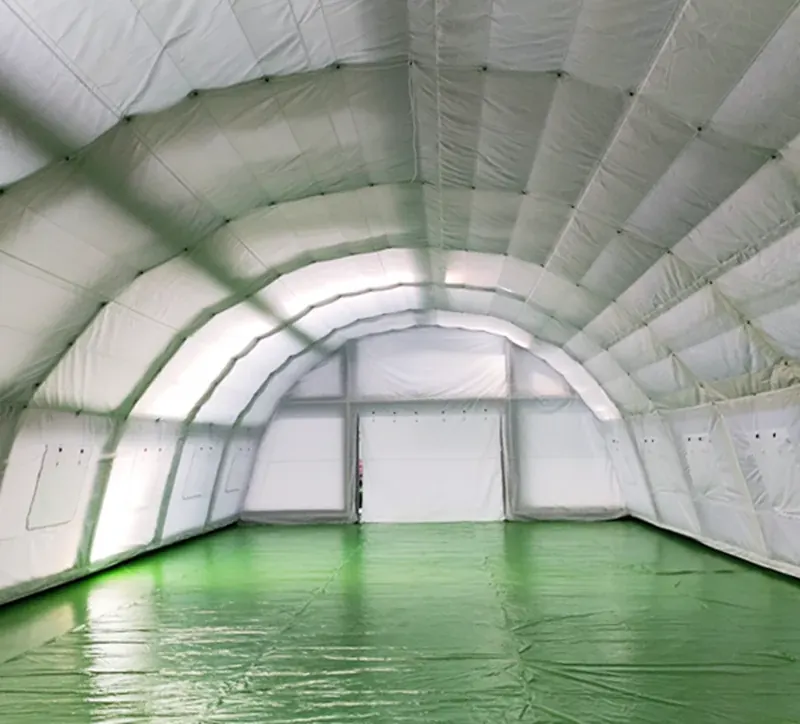
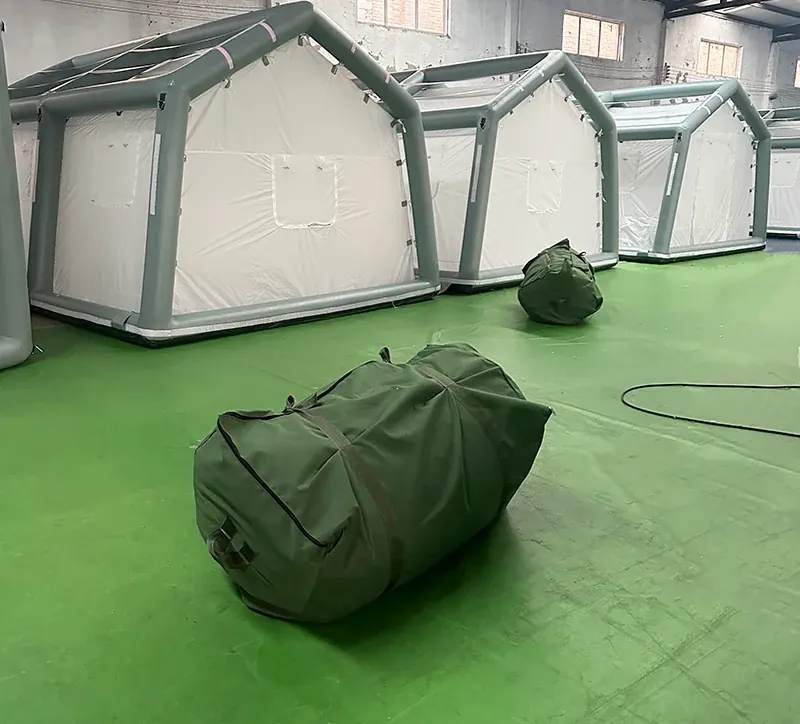
Photographs of small and long-span shelter interiors and a row of frame-tube shelters, as references for room-plan discussions.
Questions for the shelter interface schedule
Use the integrator-approved workflow to define the shelter envelope.
- Where are patient, staff and equipment routes, entrances and clearances required?
- Which service openings and connection points must align with the integrator design?
Share the room plan and equipment schedule; clinical approval stays with the responsible integrator.
Information to attach to the RFQ
- Buyer company, destination and intended sales or operating channel
- Application, dimensions, quantity and required delivery date
- Reference photos, drawings, tender schedules or target products
- Required standards, labelling, packaging and inspection method